Practical guide to bundlers
As I was discussing with some junior developers or designers who code, I realized that there were few practical or basic exemples to show how to use it. Documentation can feel scary and not so detailed. And even if googling and copy/pasting code is developers best friend, you need to understand what you are copying to update it and make it your own. So here is an attempt to explain and show real basic exemples of bundling CSS and Javascript with basic needs.
Note: Just a reminder that project structure or methods are always evolving so don't stick to one, try to find what is the best regarding the context of the project, the team or your preferences.
Project structure
My project structure is most of the time like:
/src
package.json
Then I output the build files (minified js, minified css, static images...) into a dist folder so in the end it basically look like this:
/dist
/src
package.json
For this post the demos are always structured like this. Then for each bundler you will have their config file except for Parcel where config is directly on command scripts in package.json (i'll explain that later on).
Difference between task runner and bundler
-
Task runner: such as Gulp allow you to execute small tasks like minifiying CSS or add autoprefixer to CSS properties by using gulp and the appropriate packages for each of those tasks. You can then output the build files in a specific folder and use them in your project.
-
Bundler : such as Webpack, Parcel or ESbuild are using one or multiple entry points and execute also kind of small tasks but they will ouput it as Javascript (mainly). They also have built-in development server, minification, sourcemap, caching and more. No need to load extra dependencies. And most of the time they have faster build times.
Advantage of using task runner and bundler
Two words: Cleaner, faster.
No actually there is more than two words of course. It will allow you to write cleaner code, and by cleaner code i mean code that you can go back after 1 year and still understand where everything goes and do, and faster building and loading time for any given ressources (css, js, images, fonts...).
Node and terminal
First things first. In order to use any of those you need to install node js to use npm (node package manager). Go to node js and install the "recommended for most users" version.
Next stop, your terminal. If you are not familiar with it, don’t worry you will, by practicing.
You can type node -v to print your actual node version, if node is not installed it will print something like node -v command not found.
To navigate between folders from your terminal you can either go into a folder by doing cd my-folder/ or going back cd ../ (cd mean Change Directory). If you want to go in a folder somewhere with a completely different path the easy way is to type cd then drag and drop your folder into the terminal, type enter and the path of the terminal will be at your dropped folder.
Don’t hesitate to keep a note with those to use it later so you can remember. I will not go further about terminal since it’s not the point of my post here. So let’s move on !
Common step
To keep track of everything and in order to be able to use any task runner or bundler, we need to initiate a package.json file with npm init -y at the root of the project folder. This file will keep track of every package (think of it as kind of plugins) that we will install along with other metadata and commands.
To install any npm package you will always use npm install my-package command. For packages that are only needed for development purpose such as compiling sass into css, we can install them with --save-dev option, if we need the package to be available for the project itself such as a date format library we can install it with --save only.
Exemples:
- moment js, i will type
npm install moment --save - sass package, i will type
npm install sass --save-dev
One of the the great benefit from using package.json file is that you can reuse it on any other project and just type npm install to install all the dependencies.
This will install a folder called node_modules with all those packages and their dependencies inside. It is a really, heavy folder that you should not track or copy anywhere.
Gulp
Gulp is a task runner. I found it really « readable » and good to start with for simple tasks.
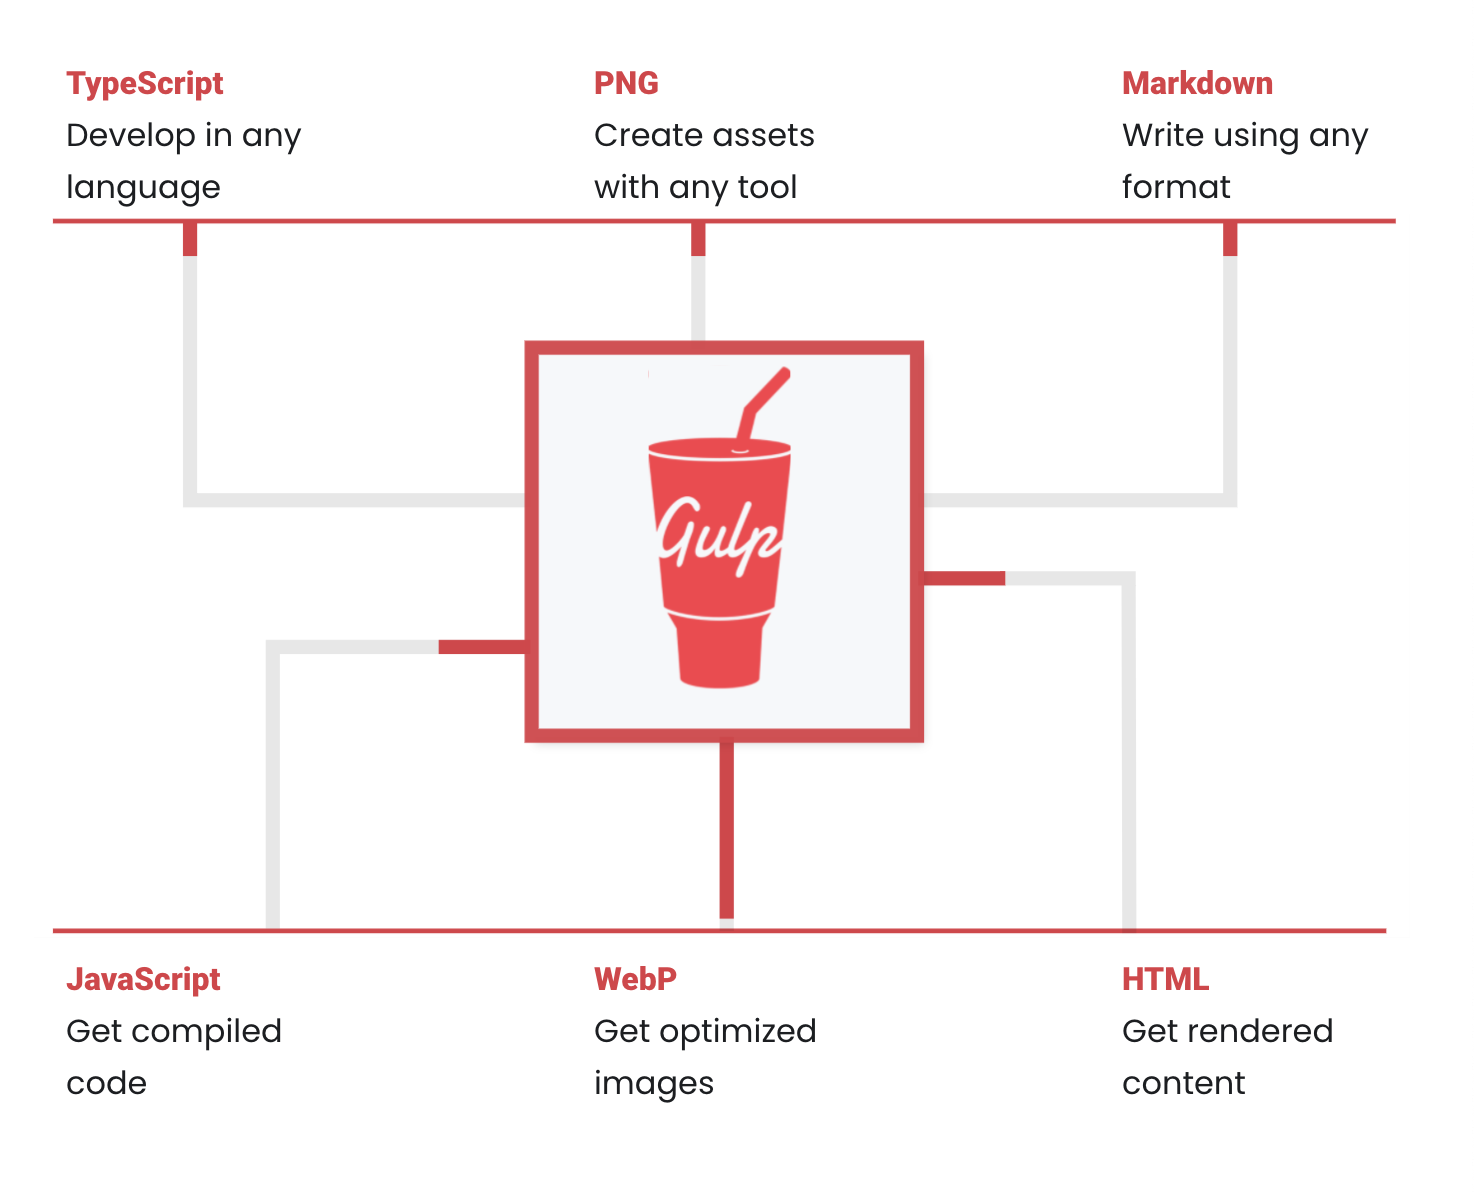
It allow you to write your css with sass (or stylus) and compile it into css. Or minify images, css and js files ...
Project structure is
/src
  /scss
    /core
      _variables.scss
    style.scss
  /js
    /modules
      Log.js
    index.js
/tasks
  clean.js
  javascript.js
  livereload.js
  sass.js
  watch.js
index.html
gulpfile.js
package.json
Don't take naming here as fixed cause i purposely named tasks files for exemple so it will be kind of easy to know what their purpose is.
Create a new project folder called gulp-demo create an src folder inside.
Open your terminal at the root of the gulp-demo folder and create a package.json file by typing npm init -y
Next we need to install all the development dependencies in order to execute all the tasks we want. I will not ask you to install them one by one since there are a lot. You can simply copy / paste the list from repo. Here is the final list of dependencies that I have :
"devDependencies": {
    "@babel/core": "^7.15.5",
    "@babel/plugin-proposal-object-rest-spread": "^7.15.6",
    "@babel/plugin-transform-runtime": "^7.15.0",
    "@babel/preset-env": "^7.15.6",
    "@babel/register": "^7.15.3",
    "autoprefixer": "^10.2.6",
    "babelify": "^10.0.0",
    "browser-sync": "^2.27.5",
    "browserify": "^17.0.0",
    "cssnano": "^5.0.6",
    "del": "^6.0.0",
    "gulp": "^4.0.2",
    "gulp-cssmin": "^0.2.0",
    "gulp-notify": "^4.0.0",
    "gulp-postcss": "^9.0.0",
    "gulp-sass": "^5.0.0",
    "gulp-sourcemaps": "^3.0.0",
    "gulp-strip-debug": "^4.0.0",
    "gulp-uglify": "^3.0.2",
    "gulp-util": "^3.0.8",
    "postcss": "^8.3.5",
    "require-dir": "^1.2.0",
    "sass": "^1.42.1",
    "vinyl-source-stream": "^2.0.0"
  }
You can now just type npm install to download all the dependencies on your local project.
Next I have created a tasks folder where I declare my tasks files. For any task you will need to first, require packages, then create a function where you will declare what to do, then export this function so gulp can use it.
For exemple, to compile sass into css, I have created a sass.js file.
Inside I first require all the needed packages.
const { src, dest } = require('gulp')
const sass          = require('gulp-sass')(require('sass'))
const cssmin        = require('gulp-cssmin')
const postcss       = require('gulp-postcss')
const notify        = require('gulp-notify')
const cssnano       = require("cssnano")
const autoprefixer  = require('autoprefixer')
The first function I want to declare is one that will take any source file, run the sass module, notify if there is any error in my code (like missing semi-colon or non existing variable), automatically add autoprefixer, remove comments... add a source map, then send the final clean CSS file into a dist folder.
function sassBundle(cb) {
  return src('src/css/**/style.scss', { sourcemaps: true })
    .pipe(sass())
    .on('error', notify.onError(function (error) {
        return "Sass: " + error.message;
    }))
    .pipe(postcss([autoprefixer(), cssnano()]))
    .pipe(dest('dist', { sourcemaps: '.' }));
  cb();
}
The second one is to minify the CSS output file.
function cssMinify(cb) {
  return src('dist/style.css')
    .pipe(cssmin())
    .pipe(dest('dist'));
  cb();
}
Then, I export those two function to use it later on.
exports.sassBundle = sassBundle;
exports.cssMinify = cssMinify;
In case you were wondering, i wrote those files according to gulp documentation, and when it didn't work tried to found infos about errors that was occuring.
You can check all the tasks files to see for each task, what is happening.
Gulp, needs a gulpfile.js in order to work.
It is his config file so it knows what to do, and when.
So I have created a gulpfile.js where I now require some gulp methods (series and parallel) and all my tasks files. I can now export my gulp tasks as gulp command.
exports.watch = series(browsersyncServe, watcher)Then if I type in my terminal gulp watch it will execute everything that is inside browsersyncServe and watcher functions in this particular order. Series method is used to execute tasks in certain order, parallel will execute them at the same time.
Package.json allow you to add custom script.
Here are the four command that I have created for each gulp tasks that I have :
"watch": "gulp watch",
"help": "gulp --tasks",
"build": "NODE_ENV=development gulp build",
"deploy": "NODE_ENV=production gulp build"
So basically, gulp watch will execute the same functions than npm run watch. The advantage here is that you can pass additional options to some command like build or deploy to differentiate working environment for exemple. Here it will minify or add sourcemap to the code depending of environment.
In your index.html file simply call the output files contain in the dist folder such as :
  <link rel="stylesheet" href="./dist/style.css">
</head>
<body>
  <script src="./dist/index.js"></script>
</body>
You can update this basic exemple to fit your need wether it is to use it with WordPress or a static site generator like Eleventy. I use Gulp with Eleventy, for my personal website.
Gulp documentation is nicely done so feel free to dig in it.
Webpack
Webpack is a module bundler. It already has (unlike Gulp as task runner) minification or inline sourcemap options without having to load packages to do it. It also can handle CSS import in Javascript file so you can scope style.
Project structure is almost the same:
/src
  /scss
    /core
      _variables.scss
    style.scss
    header.scss
  /js
    /modules
      Header.js
    index.js
index.html
package.json
webpack.common.js
webpack.dev.js
webpack.prod.js
The same starting point apply here, you need to initiate a package.json file then install all the dependencies.
Here we only need a few:
"devDependencies": {
    "css-loader": "^6.3.0",
    "html-webpack-plugin": "^5.3.2",
    "mini-css-extract-plugin": "^2.3.0",
    "path": "^0.12.7",
    "sass": "^1.42.1",
    "sass-loader": "^12.1.0",
    "style-loader": "^3.3.0",
    "webpack": "^5.54.0",
    "webpack-cli": "^4.8.0",
    "webpack-dev-server": "^4.3.0",
    "webpack-merge": "^5.8.0"
  }
You don't have to add anything to your index.html file. Everything is happening through config files.
There is three config files:
- webpack.common.js
- webpack.dev.js
- webpack.prod.js
As it is written, webpack.common.js will be used to declare all the common rules such as entry point, plugins to compile sass to css...
Then webpack.dev.js and webpack.prod.js are use to declare mode environment (development or production) and other options such as sourcemaps for development mode.
The common webpack config file is the main one. Here i load few dependencies, then exports all the configuration like entry file, output folder, and what webpack need to do with css and html.
const path = require('path');
const HtmlWebpackPlugin = require('html-webpack-plugin');
const MiniCssExtractPlugin = require('mini-css-extract-plugin');

module.exports = {
  entry: path.resolve(__dirname, 'src/js/index.js'),
  output: {
    path: path.resolve(__dirname, 'dist'),
    filename: '[name].bundle.js',
    clean: true,
  },
  plugins: [new HtmlWebpackPlugin({ template: 'index.html' })],
  module: {
    rules: [
      {
        test: /\.s[ac]ss$/i,
        use: [
          // Creates `style` nodes from JS strings
          "style-loader",
          // Translates CSS into CommonJS
          "css-loader",
          // Compiles Sass to CSS
          "sass-loader",
        ],
      },
      {
        test: /\.css$/i,
        use: [MiniCssExtractPlugin.loader, "css-loader"],
      }
    ],
  }
};
Then in webpack dev i can add more option merged with common ones
const { merge } = require('webpack-merge');
 const common = require('./webpack.common.js');

 module.exports = merge(common, {
   mode: 'development',
   devtool: 'inline-source-map',
   devServer: {
     static: './dist',
   },
 });
So when i add my custom script in package.json i can pass as an options which config file it needs to use.
"start": "webpack serve --open --config webpack.dev.js",
"build": "webpack --config webpack.prod.js"
It is a basic exemple you will probably need then to copy static assets such as fonts or images or to handle some json data.
Try to dig into the documentation and add rules step by step.
Parcel
Parcel is straightforward, it is "Blazing fast, zero configuration web application bundler" and it is ! You can either send compile file to a dist folder and use them as link or script or import style in Javascript context directly.
The straightforward approach, you can just create a package.json file, npm install parcel --save-dev, create an index.html file with
  <link rel="stylesheet" href="style.css">
</head>
<body>
  <script src="index.js"></script>
</body>
add a command in your package.json file :
"start": "parcel index.html"And that's it ! Everything will be send in a dist build folder.
I have created this exemple to show how to use it with folder structure, sass and javascript class import / export.
Project structure is:
/src
  /scss
    /core
      _variables.scss
    style.scss
  /js
    /modules
      Log.js
    index.js
index.html
package.json
.sassrc
.babelrc
In order to use sass and Javascript import / export you will need to add two files and a dependencie.
npm install @babel/plugin-proposal-class-properties --save-dev and add a .babelrc file containing plugins declaration :
{
  "plugins": ["@babel/plugin-proposal-class-properties"]
}
And for sass use a .sassrc file with
{
  "includePaths": ["node_modules"],
}
To avoid an issue described in documentation.
Update in your index.html file the path of your sass and js files and add type="module" attribute to your script declaration.
  <link rel="stylesheet" href="./src/scss/style.scss">
</head>
<body>
  <script type="module" src="./src/js/index.js"></script>
</body>
Then in the package.json file update the command so now it is:
"start": "parcel serve index.html",
"build": "NODE_ENV=development parcel build index.html --public-url ./"
Once you run the start command, you'll see that parcel has added the appropriate sass plugin to compile the css and now understand js import/export.
Here is Parcel documentation.
What's next ?
There is a lot more bundlers and front-end tools out there like Esbuild, Snowpack, Rollup, Vite that use Rollup bundler.
My post was about the one that I have already use personaly or for production projects.
I hope this will help you to choose the right tool for your project or to dig deeper into one and make your own choice based on your needs.
Be careful when choosing, some might seems "easy" at first but when trying to be more specific can be tricky, so really, try them, play around, try to add images minification, fonts loader ... By practicing and trying you will then be able to use any of them according to your project.